Step by Step installation of a recessed projector lift
Step by Step installation of a recessed projector lift
Installing our motorised projector lifts into your ceiling is really very simple. Just follow the steps below and you will be enjoying your home cinema in no time.
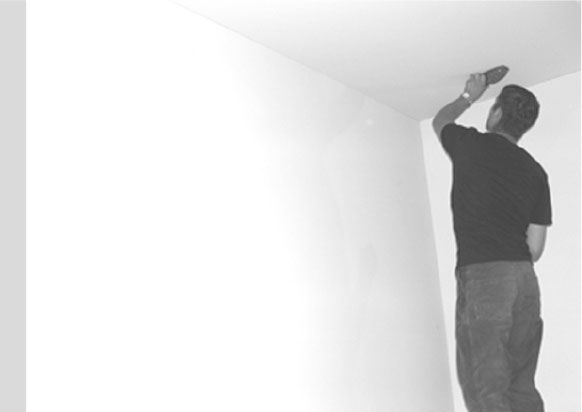
STEP 1: Find Joists, Pipes & Cables
Find the approximate position for your projector and then locate and mark the position of any joists, wiring and plumbing. To aid installation a wood/metal sensor is recommended. Available from most DIY stores
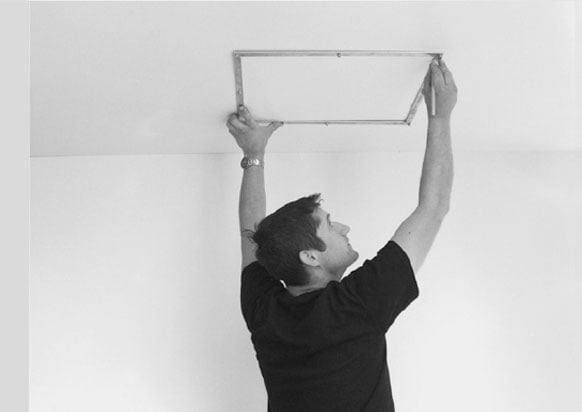
STEP 2: Mark Out Position
Now you have the joists marked, measure the exact position for the projector lift and mark out using the template supplied. Simply draw around the INSIDE of the template and then mark all hole positions. (We recommend holding the projector in place, powering up and testing the screen size with zoom set to its middle position before drilling holes.)
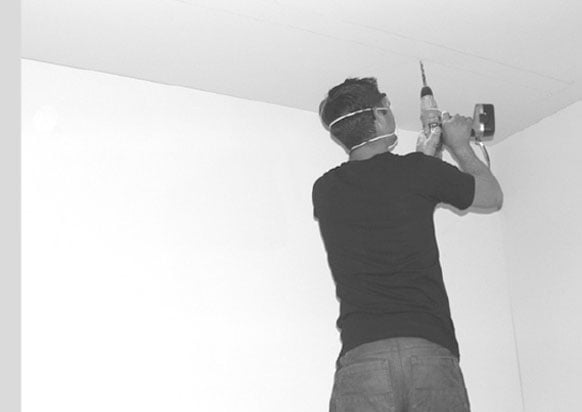
STEP 3: Drill Holes
Drill 8mm diameter holes through the ceiling for mounting screws. Be sure to drill the holes carefully as these will have to line up with the projector lift.
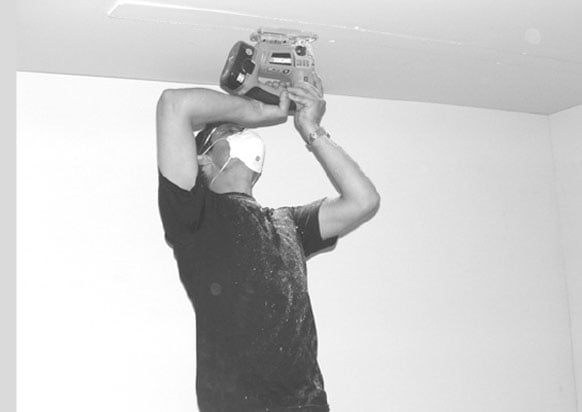
STEP 4: Cut Slot
Cut out ceiling slot along the template line, taking care to keep as close to the line as possible.
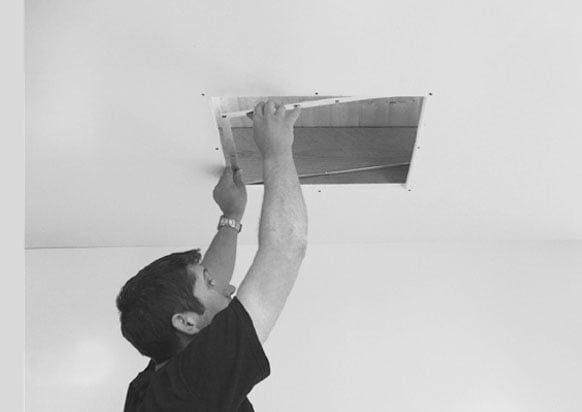
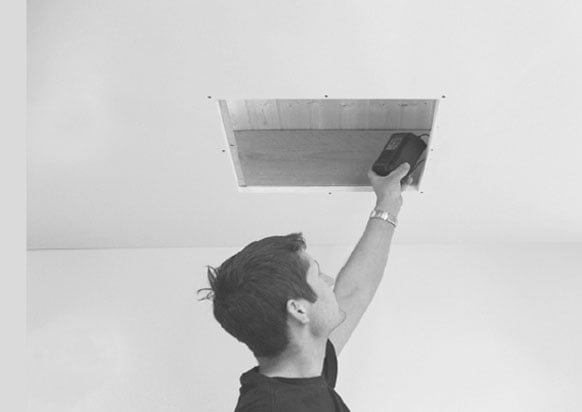
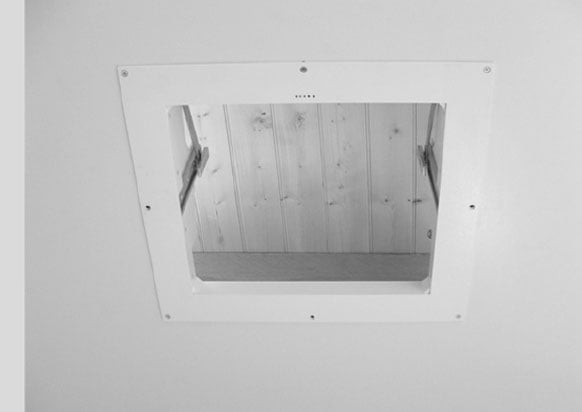
STEP 5. Install Template
Place the template into the ceiling cavity and align it with holes. If you are securing directly to joists cut the template to suit and secure using No.8 screws into joists.
STEP 6: Install Transformer
Place the mains transformer into the ceiling cavity and connect to the nearest suitable mains power supply. Allow the 24v plug to hang down for easy connection to the lift.
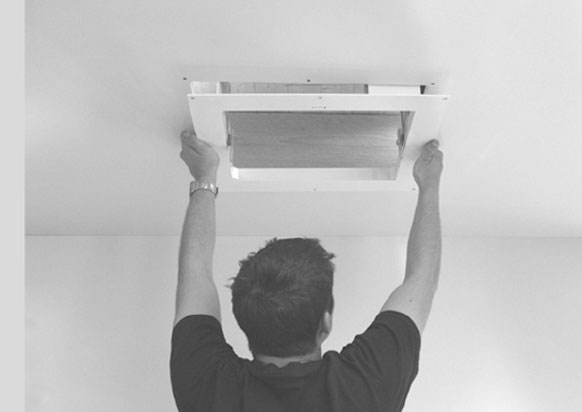
STEP 7: Install Projector Lift
Raise the lift to the ceiling and connect the power supply.
STEP 8: Test Lift Mechanism
Test mechanism Up |Down with remote control then place in the down position to allow the projector to be mounted.
STEP 9: Install Power & AV Cable
Install the projector power and AV cables and leave them hanging down approximately 300mm.
This will aid the installation of your projector.
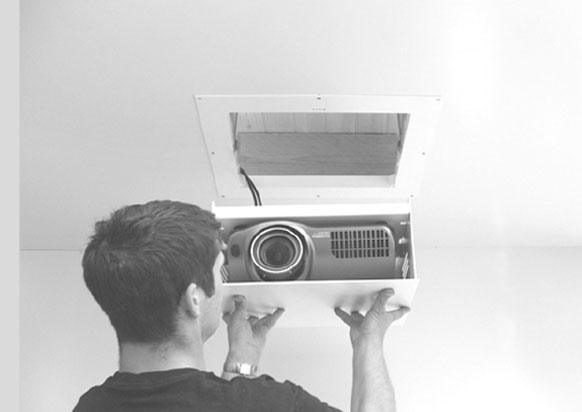
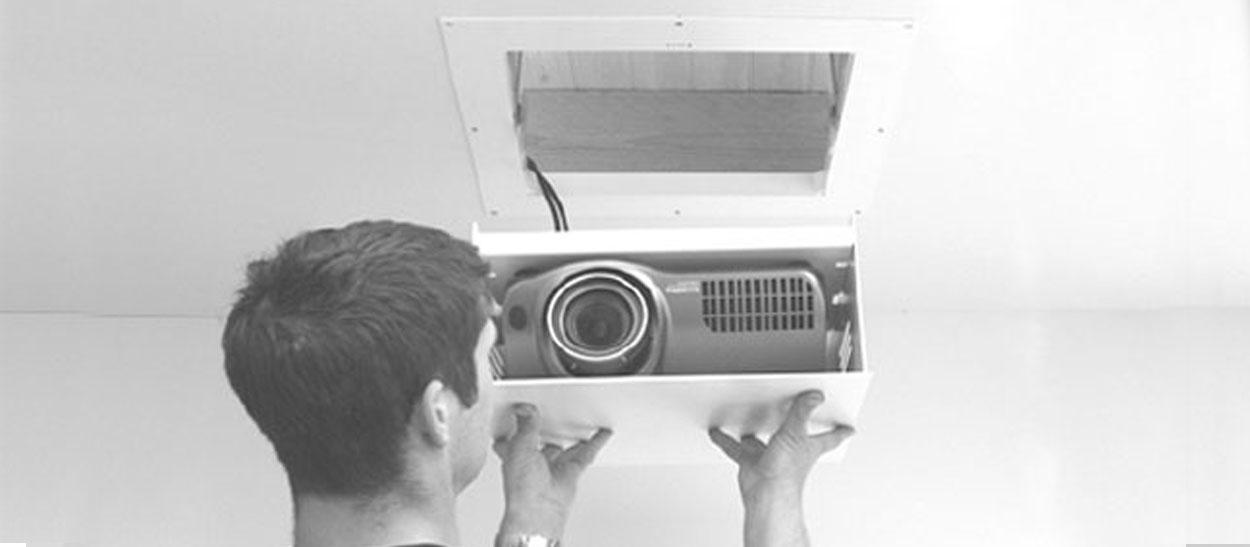
STEP 10: Mount Projector
Mount projector (upside down) to the projector tray and install to lift fitting all power and AV cables to the projector.
STEP 11: Install Projector Lift
Once power and AV cables are connected lift the projector housing up into the lift mechanism and fit the retaining screws on either side. This will secure the projector housing to the lift mechanism.
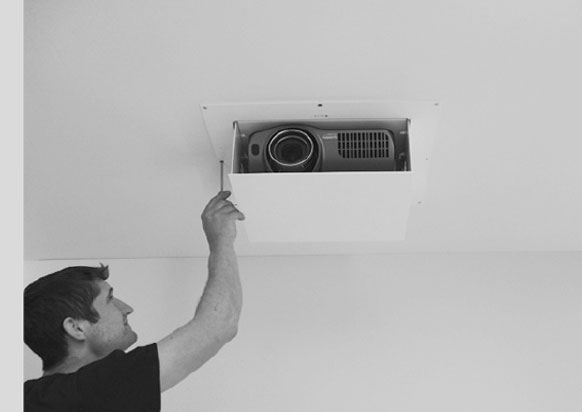
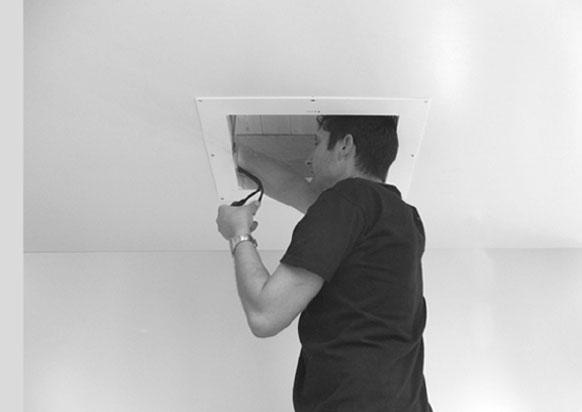
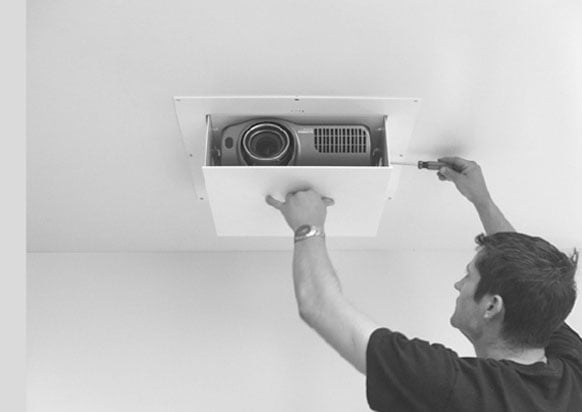
STEP 12: Secure And Test
Finally tighten all screws into ceiling. (Fit screw covers once you have tested your installation.)
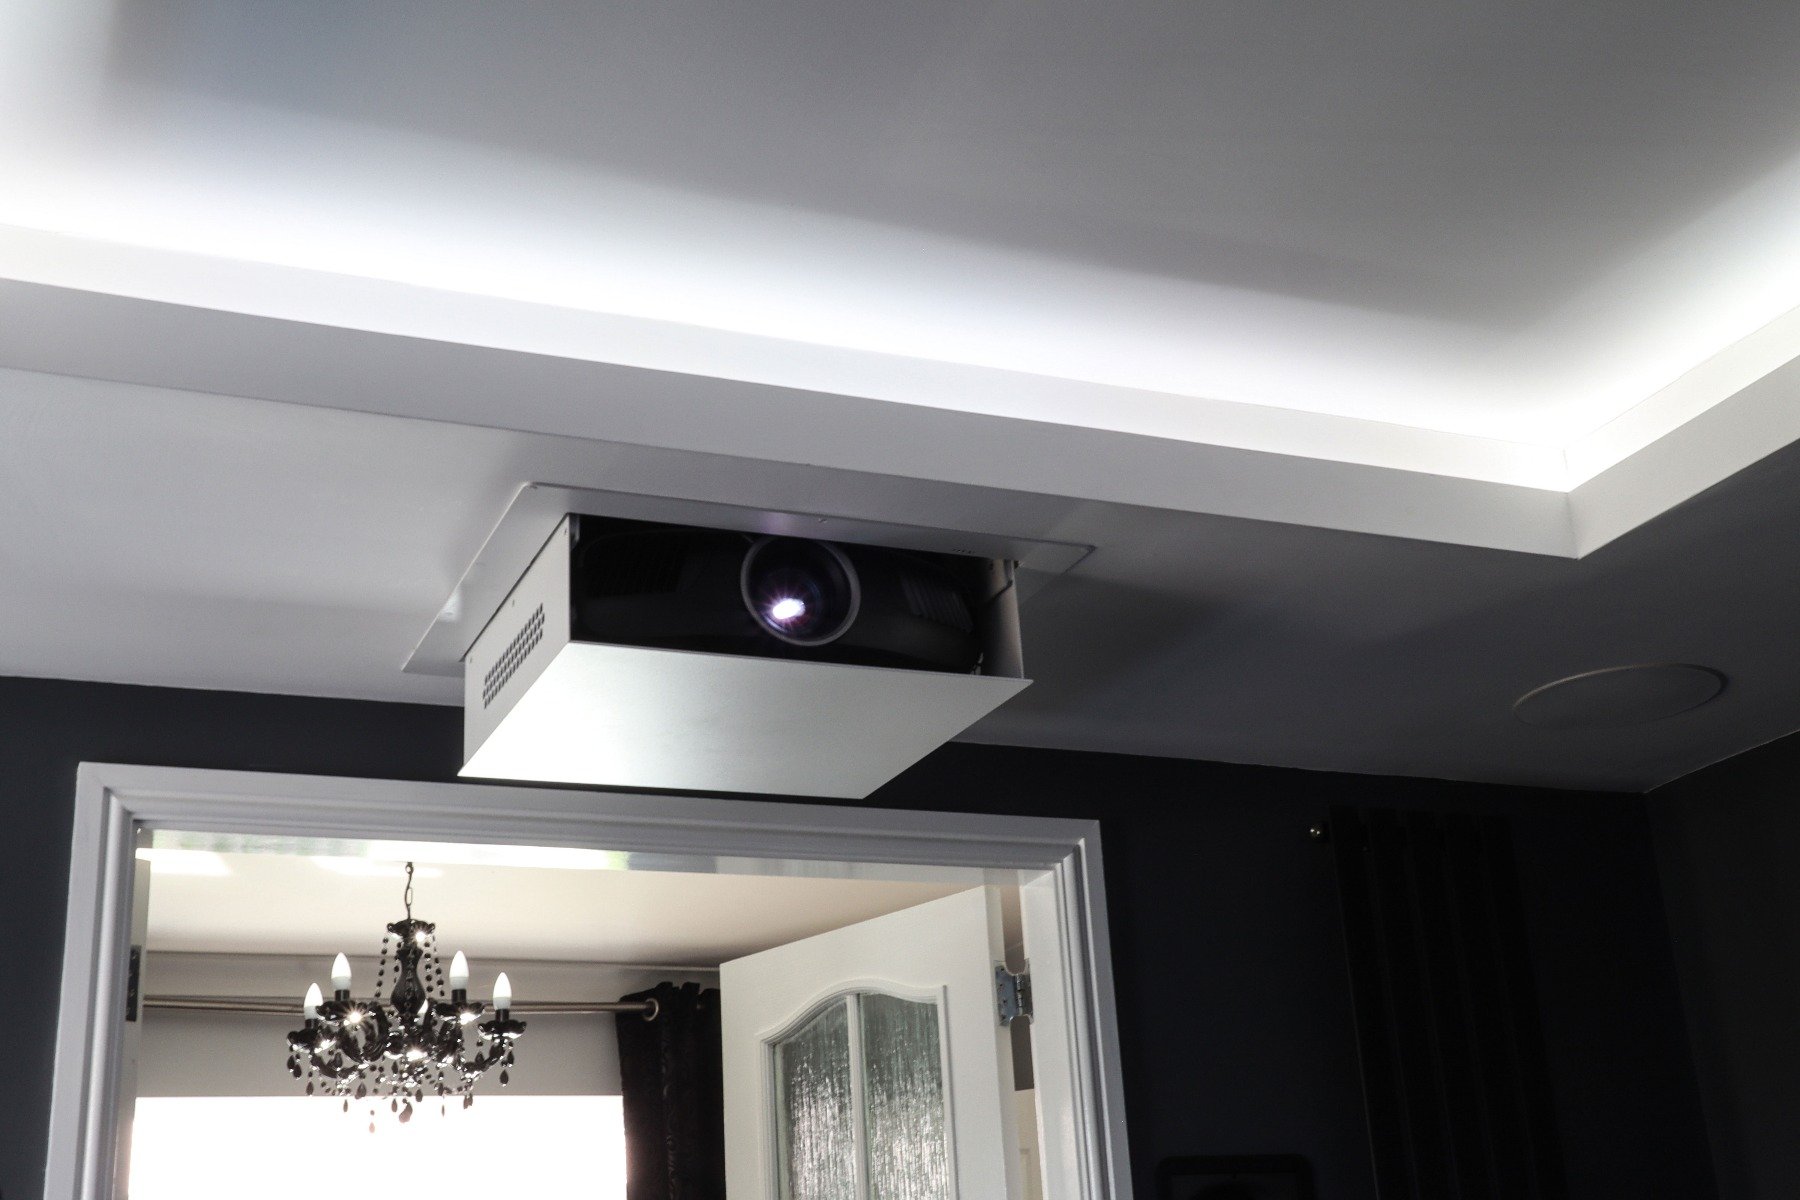
Your lift is now ready to use.
Ready to purchase a projector lift?