Step by Step installation of a recessed projector screen
Installing our motorised projector screens into your ceiling is really very simple. Just follow the steps below and you will be enjoying your home cinema in no time.
![man fitting projector screen](https://us.puretheatre.com/media/wysiwyg/fitting-recessed-projector-screen-in-ceiling-1.jpg)
STEP 1: Find Joists, Pipes & Cables
Find the approximate position for your projector screen and then locate and mark the position of any joists, wiring and plumbing. To aid installation, a wood/metal sensor is recommended. Available from most DIY stores
![two men fitting projector screen](https://us.puretheatre.com/media/wysiwyg/fitting-recessed-projector-screen-in-ceiling-2.jpg)
STEP 2: Mark Out Position
Now you have the joists marked, measure the exact position for the projector screen and mark out using the stencil supplied. Simply draw around the inside of the stencil and mark all hole positions.
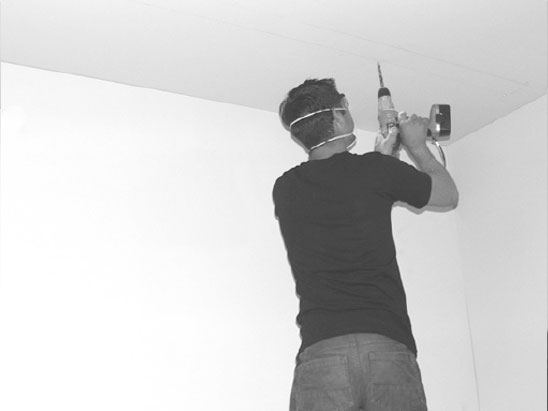
![man drilling holes to fit projector screen](https://us.puretheatre.com/media/wysiwyg/fitting-recessed-projector-screen-in-ceiling-3.jpg)
STEP 3: Drill Holes
Drill 8mm diameter holes through the ceiling for mounting screws. Be sure to drill the holes carefully as these will have to line up with the projector screen.
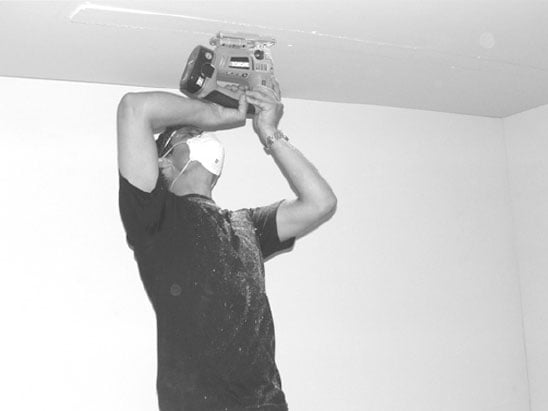
![man cutting out hole in ceiling to fit projector screen](https://us.puretheatre.com/media/wysiwyg/fitting-recessed-projector-screen-in-ceiling-4.jpg)
STEP 4: Cut Slot
Cut out ceiling slot along the template line, taking care to keep as close to the line as possible. Clean out the majority of plaster dust leaving a clean area for the screen.
![man installing ceiling recessed projector screen](https://us.puretheatre.com/media/wysiwyg/fitting-recessed-projector-screen-in-ceiling-5.jpg)
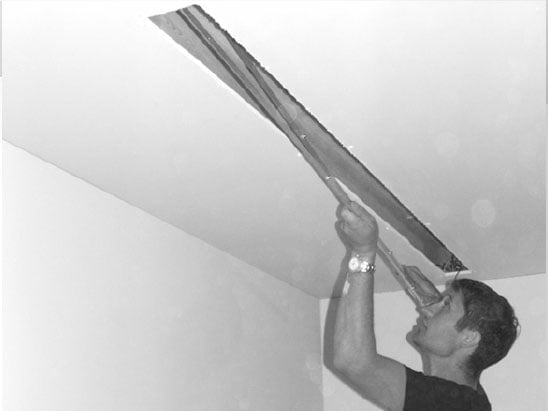
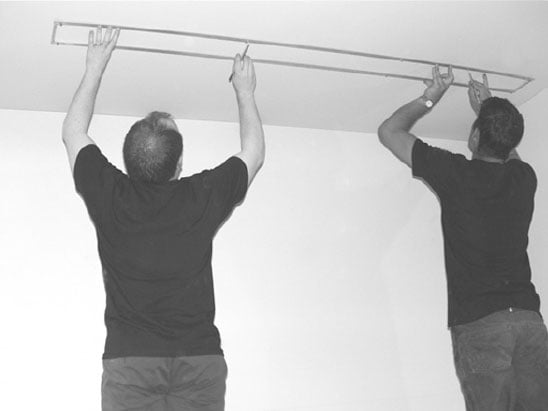
STEP 5: Install Template
Place the template into the ceiling cavity and align it with slots and holes. Once you are happy the holes are correct, lift the mounting frame and remove the sticky pad covers then press down into position.
![transformer for projector screen being put into ceiling](https://us.puretheatre.com/media/wysiwyg/fitting-recessed-projector-screen-in-ceiling-6.jpg)
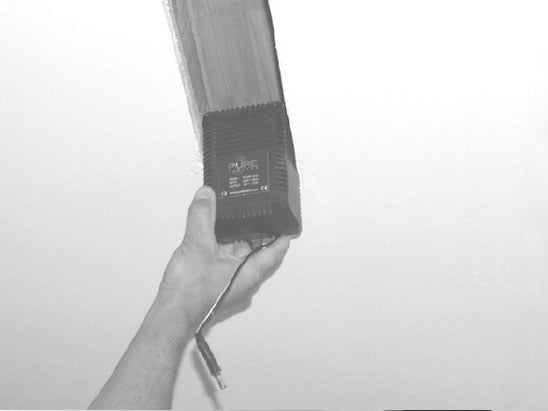
STEP 6: Install Transformer
Place the main transformer into the ceiling cavity and connect to the nearest suitable main power supply using supplied IEC lead. Allow the 24v plug to hang down for easy connection to the screen.
![two men lifting projector screen into ceiling](https://us.puretheatre.com/media/wysiwyg/fitting-recessed-projector-screen-in-ceiling-7.jpg)
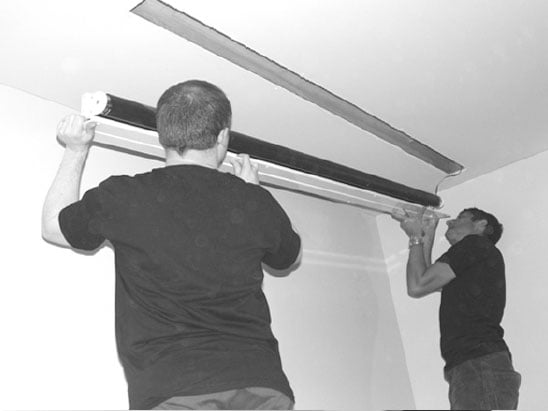
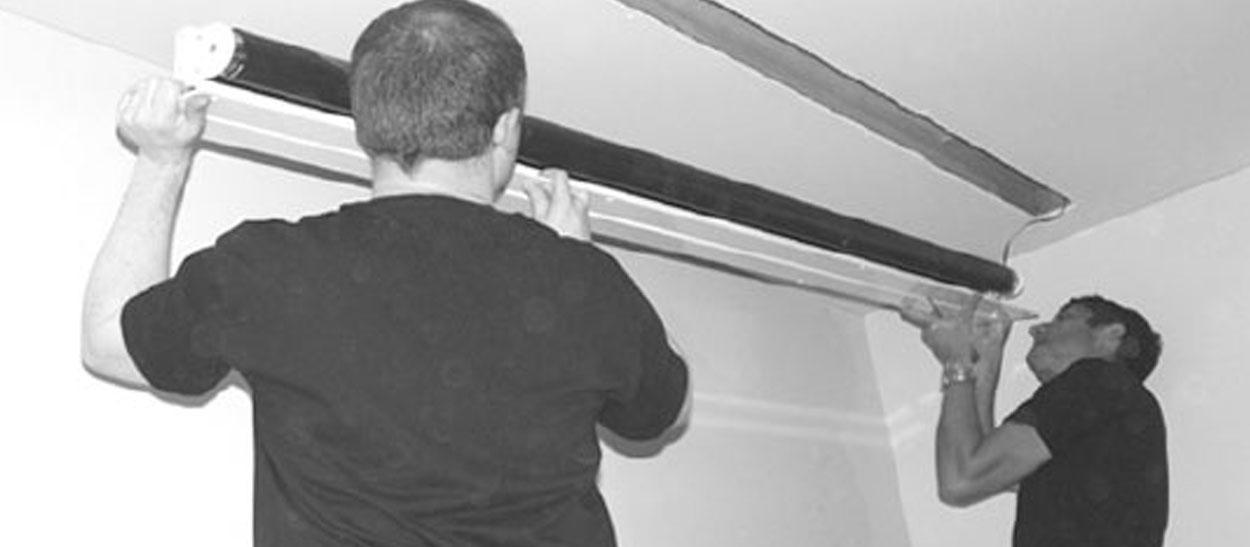
STEP 7: Install Screen
Lift the screen to the ceiling and connect the 24v plug from the transformer to the end of the screen. Note. The LEDs on the screen should light RED, then Green and Yellow. Now push the screen up into the ceiling cavity and insert all screws finger tight.
**USE SCREWS PROVIDED - DO NOT USE SCREWS LONGER THAN 30mm.
![two men tightening screws in projector screen](https://us.puretheatre.com/media/wysiwyg/fitting-recessed-projector-screen-in-ceiling-8.jpg)
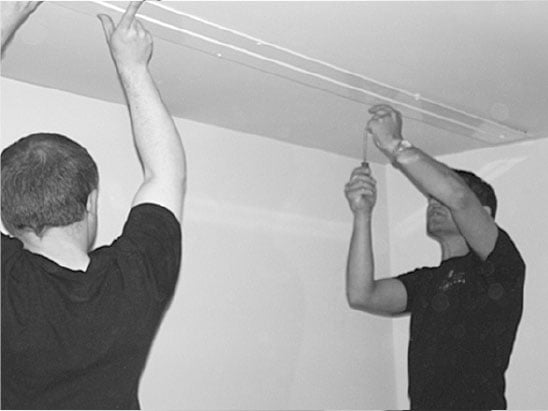
STEP 8: Secure and Test
Finally, tighten all screws with a screwdriver. (Fit screw covers once you have tested your installation.) Your screen is now ready to use. Please read the following pages for operating instructions and programming options.
Ready to purchase you recessed screen?
![recessed projector screen showing warner bros logo in living room purple lights](https://us.puretheatre.com/media/wysiwyg/coffered-ceiling-projector-screen.jpg)